We planned our September 2025 dark skies trip to New Mexico’s Kiowa National Grasslands. Originally the weather looked like it was going to allow a 3-day trip. When Mother Nature got wind of that plan, she chuckled and painted clouds into the scenario…turning it into a 2-day trip (more like 1.5 nights of clear skies). Not to be deterred, we packed up and headed out in the Beast…commenting as we drove into the Grasslands how we’d never seen them (or New Mexico) so green. Little did me know, that since Mother Nature couldn’t produce enough cloud cover to convince us to stay away from dark skies during the New Moon…she would paint swarming and hungry mosquitos into the scenario and chase us off after a single night!
We had a chance for dark skies at Mills Canyon Rim on the Kiowa National Grasslands, New Mexico during September 2025’s New Moon weekend. During initial planning it was looking like we would have three nights of clear skies, wavering between Friday through Sunday and Saturday through Monday nights. But as we got closer, it turned into two nights…Saturday and Sunday (partially), so we packed up for a two-night trip driving down on Saturday and coming back on Monday.
Not the most pleasant time we’ve ever had collecting the data…
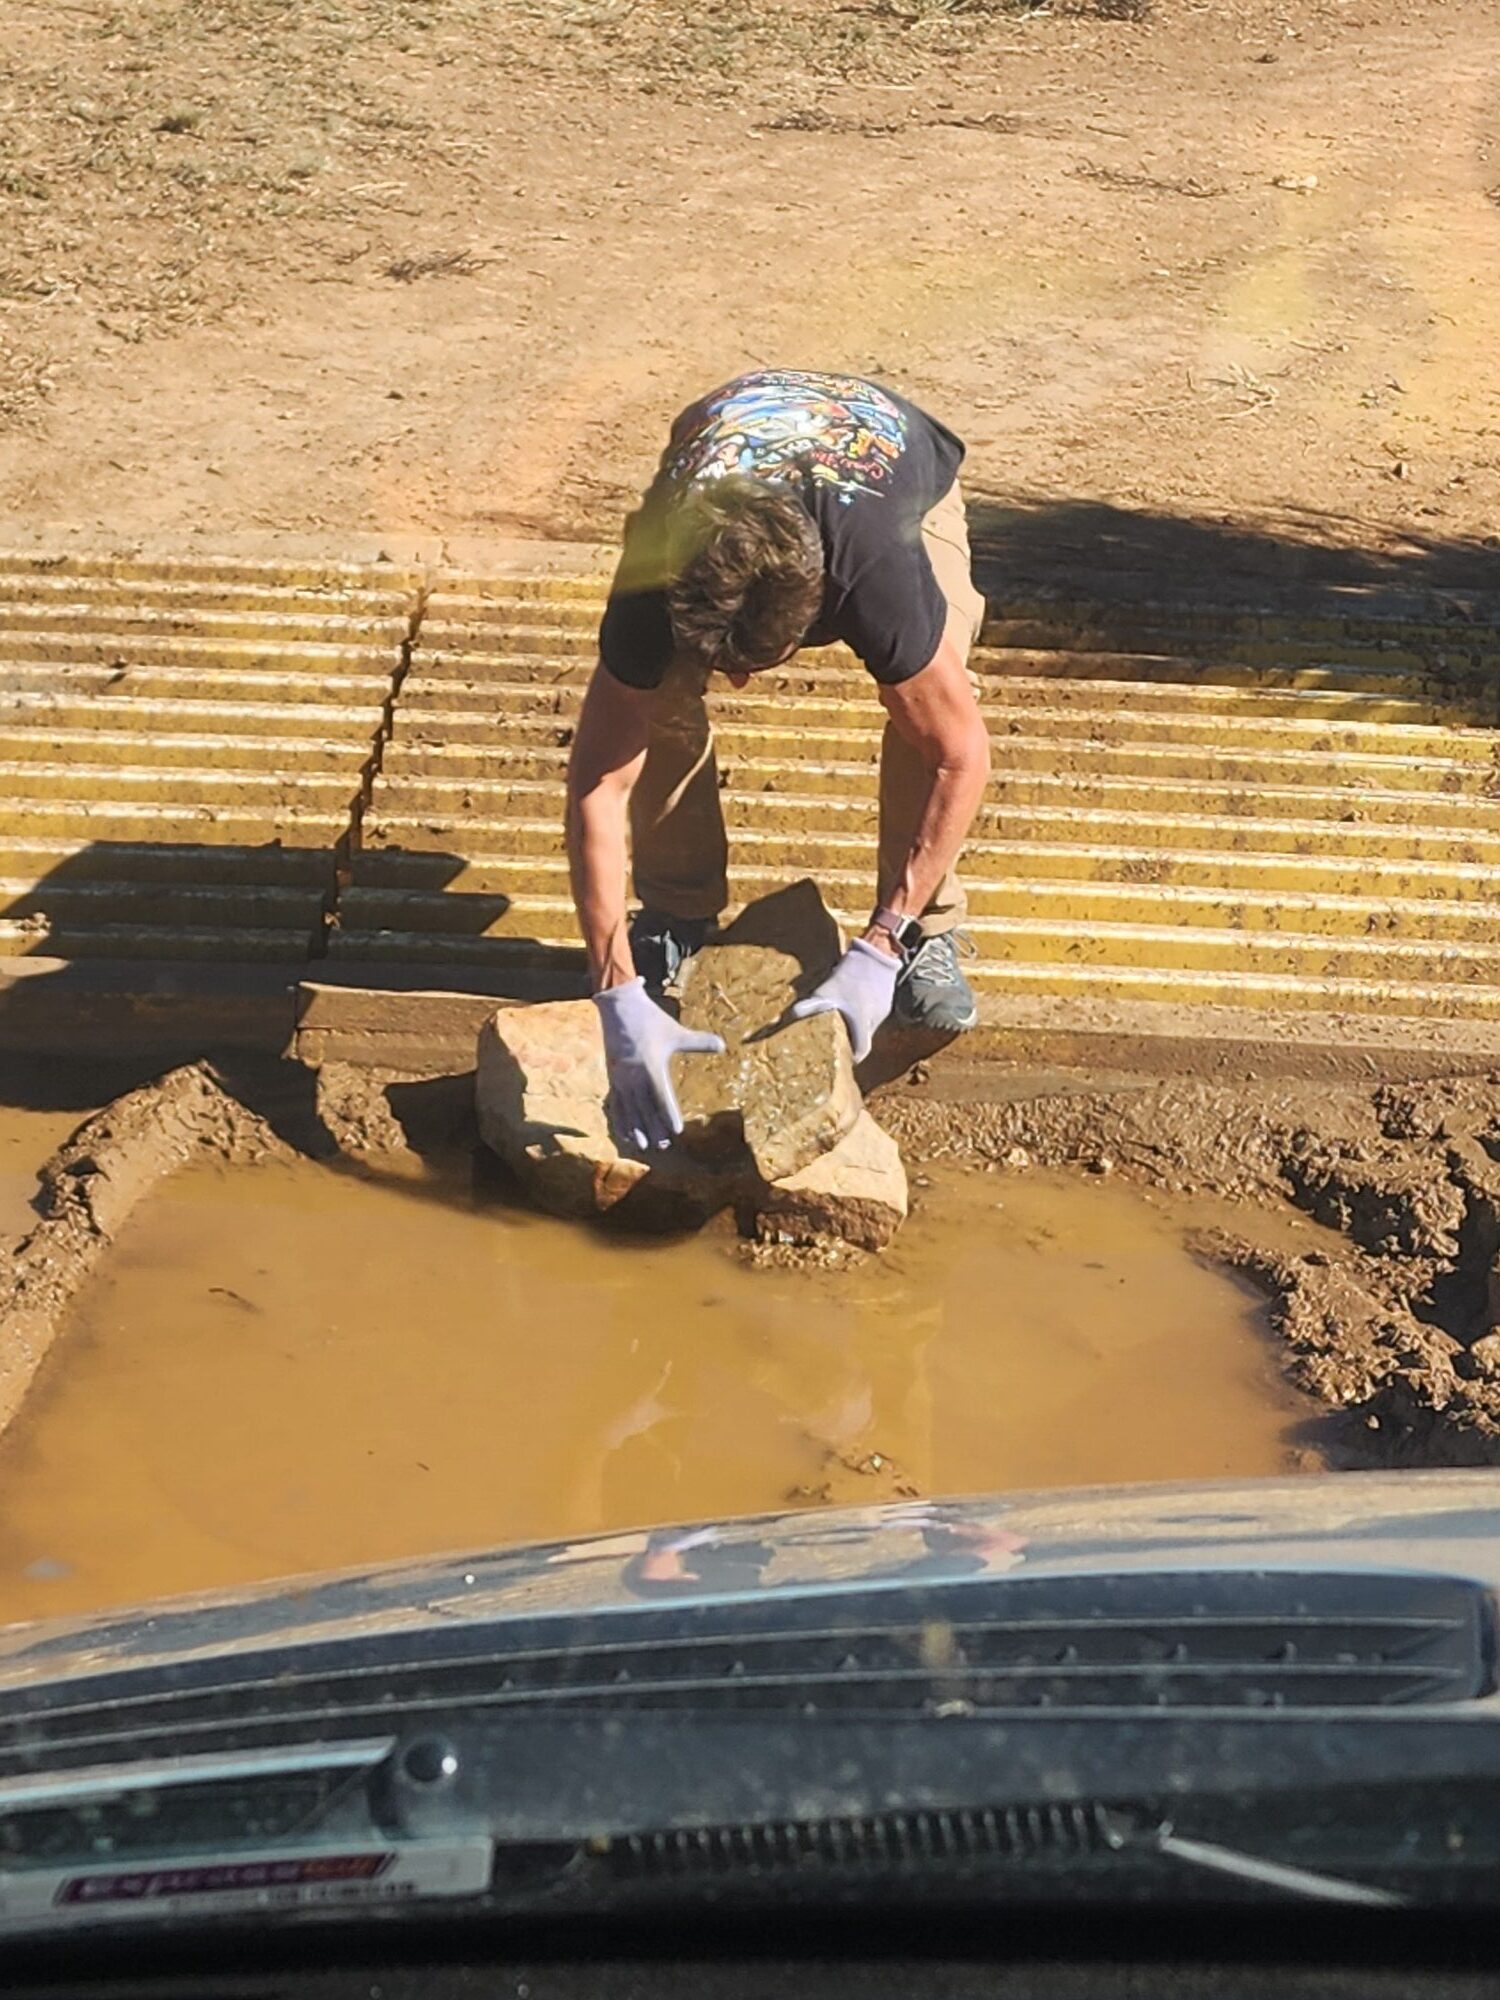
As we drove into the Grasslands on Saturday, we commented about how green everything was, how we’d never seen it like this! We also commented on the mud and the puddles – then almost got stuck crossing over the new cattle guard that had been installed since our last visit there in the Spring of 2024! Apparently, when the cattle guard was installed, it was backfilled with dirt that, with all the rain, had washed away leaving a big hole filled with water on the backside of it! On the way in, our (very large and high clearance) tire dropped into the mud puddle and we got momentarily stuck. Paul backed up and got us through…while both of us wondered to ourselves how we were going to get back out. The photo below answers that wonderment: on the way out, we (no, I) gathered flat rocks (including the one very big heavy flat rock already placed against the cattle guard) and built a bridge through the mud puddle!
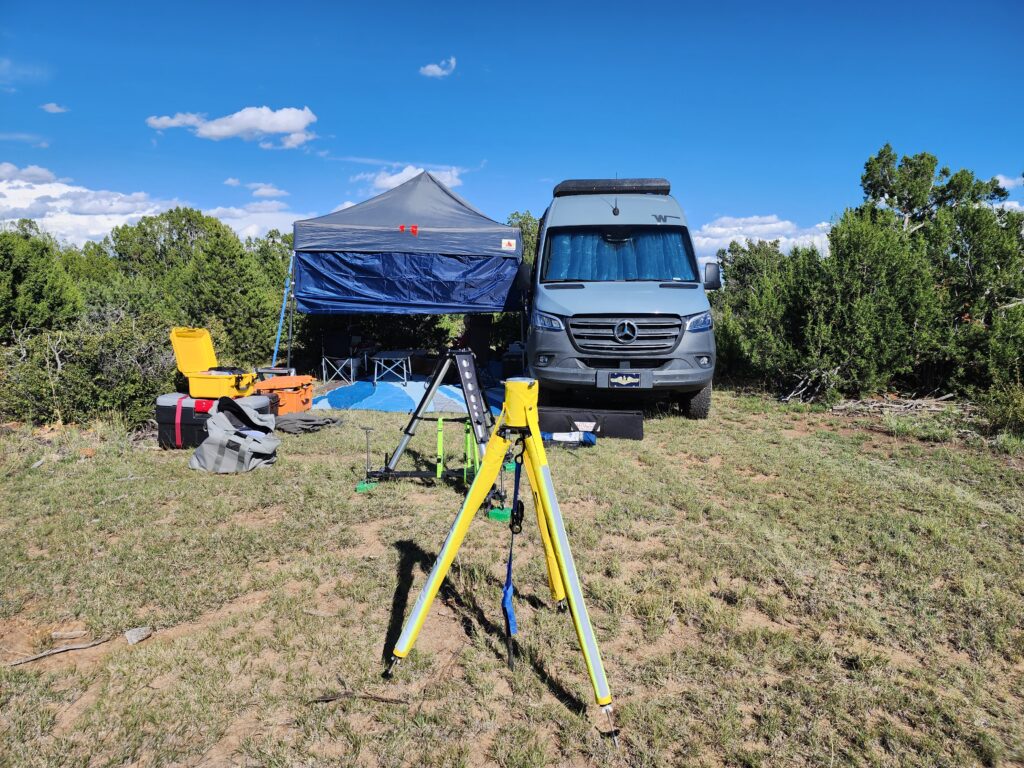
We got to our normal site along K90A near the rim and set up camp…we noticed some mosquitos (those were the bugs coming into the Beast’s open windows on the way in – but never having witnessed mosquitos here before, it didn’t register). I went looking for bug spray in our cache and come up with ½ a can of Deep Woods Off and a container of doggy bug spray (that Zeus hates, so there was plenty for us to use!). We finished setting up camp with some mosquitos buzzing around, foreshadowing things to come. As I set up my AP gear in the sun, they didn’t seem so bad…but when I was near the end of the process (~1700) and took Zeus for a walk along the road where there were more trees and bushes, they were beginning their warm-up for full swarm and attack mode!
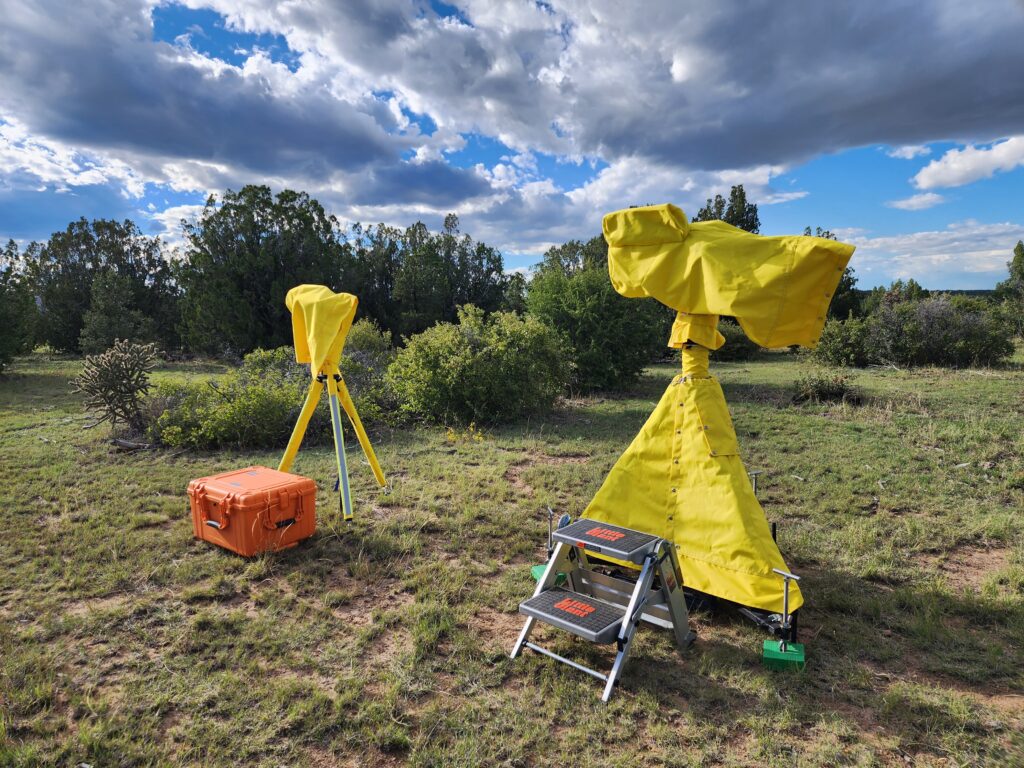
As we ate dinner it rained (yes, with the telescopes sitting out in the rain). At first, it was just a drizzle, but as it became heavier we both decided the normal (Danita-made yellow) covers were not enough, so I got out the tarps and quickly ran out into the rain and covered both Big Bertha and the Southern Cross. It rained for about 30 minutes…which seemed to give the mosquitos just the moisture they were looking for…turning our outdoor space from bad to miserable!
After we finished dinner, as it was getting toward twilight, the skies cleared to the north…Paul and Zeus went into the Beast and closed the door to escape the hungry mosquitos while I started on setting up the evening’s imaging.
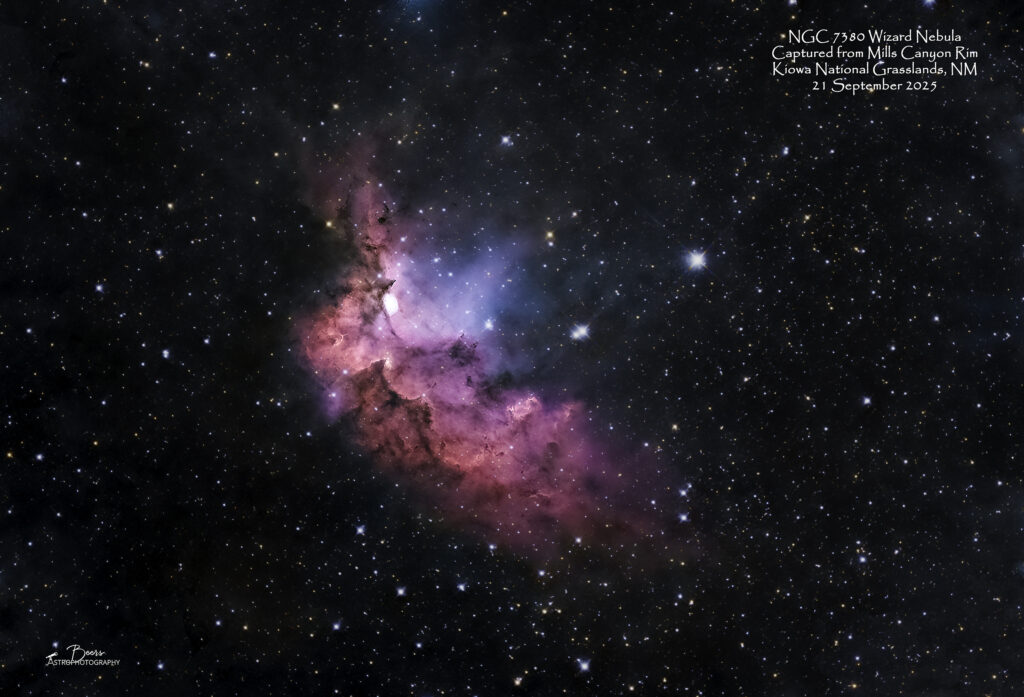
I began with Big Bertha, imaging the NGC7380 Wizard Nebula. I hadn’t imaged with Big Bertha since our trip to Comanche National Grasslands in October 2024 – so something is bound to be wrong! To get things (not) started the iHubo ASCOM driver for the RST-300 mount was not connecting through SGPro’s “connect all equipment” command. I rebooted the laptop and recycled power on the mount a couple of times with the same result. I opened Device Manager and verified that the mount was connected through the Com3 port…then went into the iHubo settings to find a blank comm port. I dropped down the iHubo menu – and there it was, waiting to be selected. That did the trick!
Next came the focusing…I slewed to the target area and aborted the focusing routine (which was NOT going to resolve when the telescope is nowhere near in focus). I focused manually while the telescope was pointed in the general direction of the target (after the mount’s first plate solve move), using the auto-focuser’s (EAF) manual option, getting close to focus, verified the focus of the autoguider camera, then restarted the sequence. The EAF, plate solve, and autoguide calibration went without a hitch…and we were off to the races at 21:07MDT.
After I got Big Bertha up and running on NGC7380 Wizard Nebula, I turned my attention (and my stool even deeper into the mosquito swarm!) to the Southern Cross and SH2-126 Gecko Nebula.
After I got the polar alignment done and the cabling connected, at 21:27 I began the sequence. Again, I slewed to the target area and aborted the EAF automatic focusing routine. I reset the focuser to zero, then progressed it outward by steps of 1000. When I got to 7000 I got a good result of: 848 stars, HFR 1.21 (with the focuser at about 2cm). I checked the autoguider camera focus – which was good – then restarted the sequence. At sequence restart, the EAF routine started and although I thought the focus point of 7000 was very close, it was not so close that it didn’t give me a scare that things were not going to work out well…the EAF started its routine by producing a straight line (instead of the “V”)! I was having nightmare flashbacks to my 3+ hours of trying to focus the QHYCCD camera!! But, the EAF did continue to move inward toward focus until it resolved at 6205 with a HFR 1.8 and a 96% curve fit match (thankfully NOT including the straight line portion!). The sequence continued with the platesolving and autoguider calibration, then ran the EAF one more time (6205, HFR 1.9, 95% curve fit) and started the sequence at 21:44MDT.
BTW…the mosquitos were making this whole experience quite unpleasant by buzzing around my face and ears (and what I came to find out later – biting me through multiple layers of clothing)! I came out at about midnight to do the meridian flip – it all went very smoothly EXCEPT for the mosquitos, who were still out in force, making the entire experience QUITE unpleasant. I decided at that point, even though we had planned to stay for two nights (why I’d brought and set up both telescopes) I could not deal with another night being a mosquito pin cushion.
So, when I got up at 0530 to shut down the sequences…I also began to disassemble and pack up the equipment. Paul got up, made us coffee, we disassembled and packed up the camp, loaded the Beast and high-tailed it out of there on Sunday morning versus our planned Monday morning. Somewhere along the way, I’d also decided that since I was planning to take Monday off because we were going to be traveling back – I was still going to take Monday off, to get started on the processing and just have an AP day instead of a Monday work day.
Always something new to learn during processing…
SH2-126/LBN437 Gecko Nebula
Monday morning, I started with processing and produced my first stack of the Gecko Nebula…I realized when I saw the most hideous looking stacking result that the flats’ exposure (for the ASI2400 camera with the Southern Cross and 0.7x reducer (making the focal ratio f/3.9 instead of SC’s normal f/5.6)) that I had calculated before we left on this trip was way off. The flat frames’ exposure length was too long, creating a post-calibration image that was not at all corrected – particularly the vignetting! So, I needed to recapture the calibration frames. Luckily (?) I’d reassembled both telescopes on Sunday night after we got home to let them dry out from the dampness of the rain and the temperature dropping below the dew point overnight. With the new calibration frames in hand, I restacked, and then went on with the processing. The Southern Cross doesn’t seem to have the same issue with the star reduction artifacts as Big Bertha’s images do, so it was a simple process to generate the image that you can see at: https://beersastrophotography.com/gallery/sh2-126-lbn437-gecko-nebula/ (and directly below).
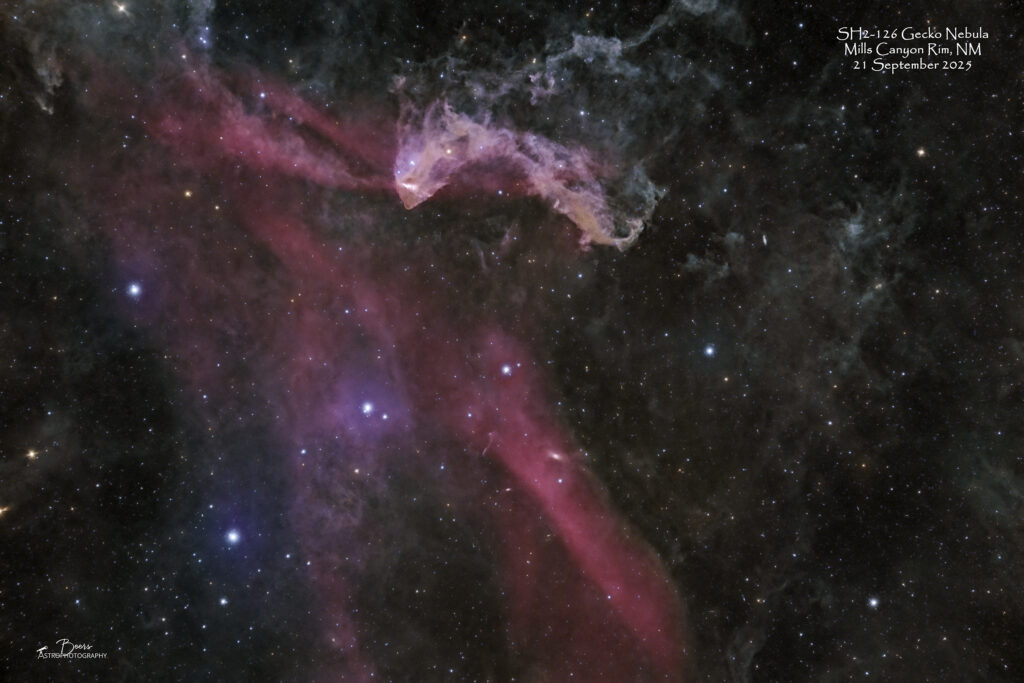
As I did the planning for this target, for the Southern Cross using its 0.7x reducer giving me a larger field of view, I framed it to capture more of the red nebula behind the Gecko…thinking, at the time, it was the Scarlet Letter Nebula. As I was writing up the journal, I started to type “this is the Gecko Nebula on top of the Scarlet Letter Nebula” and decided I had better check my facts (i.e., verify the RA/Dec location). The result was:
- SH2-126, LBN 428 Gecko Nebula: RA 22h 34m 39.41s; Dec 40° 40’ 10.9” (Constellation: Lacerta)
- SH2-96, LBN 150 Scarlet Letter Nebula: 19h 28m 41.33s; Dec 32° 41’ 04.3” (Constellation: Cygnus)
Hmmm, guess not! The Southern Cross with its 0.7x reducer’s focal length of 420mm (vs. the Southern Cross’ 600mm) is wider, but it’s not THAT wide (3hours of Right Ascension (=45°) x 8° of Declination)!!
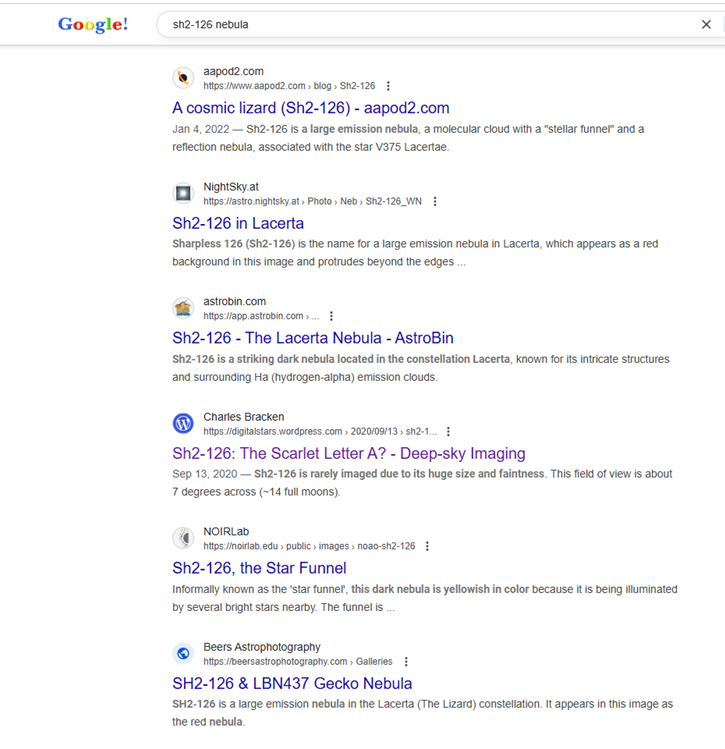
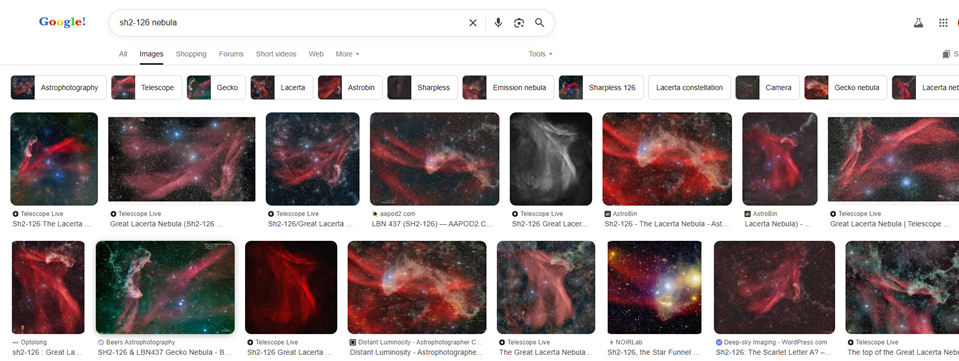
I know what you’re thinking… Jeez, don’t you read your own Target Fun Facts, where you described that LBN428 is the Gecko and SH2-126 is the red nebulosity? I’d ask you to give me a little grace here…I’m operating without access to our file server (thank you Mother Nature for the lightning strike that took out our internet modem and network switch – yes she’s been on a roll with us lately!!). So instead of starting from my last journal entry of the Gecko Nebula…I was Googling this information from scratch.
But the REALLY FUN thing I discovered while “researching” through the authoritative Google source: I Googled “catalog number for Scarlet Letter Nebula” got SH2-96. Then I Googled SH2-126. beersastrophotography.com came up as a reference and in the Google images!! That was a fun ego boost!!
NGC7380 Wizard Nebula
On Monday late afternoon, after finishing the Gecko Nebula processing, I started with processing and produced a v1 NGC 7380 Wizard image. I was disheartened to see a star-traily effect on my reduced star field when I brought the stars and nebulosity back together in the near-final product. I’d seen the same effect with last year’s images from Big Bertha (particularly noticable in the images of M20 Trifid Nebula last fall’s Wizard Nebula image). I began to get an eerie feeling and back-of-the-neck hair-raising concern that something was out of alignment with Big Bertha. (OMG! Do I now have to learn how to do the collimation process??) I reached out to Nico Carver (…and yes, I have increased my membership level on his Patreon site for the lifeline he’s been for all my AP questions and problems this year!), including the v1 image, asking the question if he’d seen anything like this and had ideas on the cause. Nico responded almost immediately…he’d seen it and it’s an artifact of the way I’m doing my star reduction with Photoshop’s minimize routine. Whew…not great news, but better than having to collimate the telescope!
“My guess from looking at the final image is that it is indeed a processing artifact from how you are doing star reduction in Photoshop. I remember when I used to do star reduction with a minimum filter as you are, getting those kinds of artifacts on a busy star field. These days, about 80% of the time I don’t do any star reduction, but control the visual impact of the star field in the stretch of the stars before recombining them with the starless image. The other 20% of the time when I misjudge the star stretch or just need a little extra reduction, I use Bill Blanshan’s Star Reduction script in PixInsight as it doesn’t leave any artifacts. I know you aren’t using PixInsight yet, but have been considering it.”
— Nico Carver (Nebula Photos) via email, 22Sep2025
I am on the verge of ordering and bracing myself to start my journey up Pixinsight’s steep learning curve (especially in preparation for my new mono camera and filter wheel’s image processing). But I didn’t want to wait for that, before finishing the processing of this image. So, I spent the next few nights playing around creating processing versions, combining and masking Arcsinh-stretched non-stretched star fields with the 10% stretch star field (that contained the star diffraction spikes I really like). The result I’m calling final is v4 (i.e., the result of the third night of re-processing!) – the Arcsinh30 stretch of the NoStretch star field, using Soft Light blending mode, layered in Photoshop on top of a minimized (4px) version of the 10% star field, masked with a “reveal all” mask to let the star diffraction spikes come through while using the Arcsinh30 (with a 85% brightness enhancement) as the basis of the star field. {Yes, QUITE a bit of work, but a MUCH better star field result…and a process I can use until I master PixInsight}
BTW…while I AM planning on getting PixInsight, I got curious this afternoon and looked up the Bill Blanshan’s Star Reduction method that Nico mentioned in his email. I found a post in Stargazer Forum where a gentleman in Ireland (Xiga) has created a PS action for it! I will have to check that out!! https://stargazerslounge.com/topic/398793-i-made-a-photoshop-action-for-bill-blanshans-new-star-reduction-method-based-on-pixel-math/
While you know that I’m not opposed to sharing my bloopers…I’ll save the website’s cloud “disk” space and only post v4…it’s at the gallery here: https://beersastrophotography.com/gallery/ngc7380-wizard-nebula/ and below…