The last half of 2023, with Mother Nature’s all but precluding time in dark skies has driven me to take the data I can collect from the front patio. When I’ve found those images to be unsatisfying I’ve turned to creating multi-session images with previously collected data. The latest example, the NGC2174 Monkey Head Nebula was not only a single multi-session image but an experiment with variations on stacking methods and my first foray into SHO, or Hubble Palette, image processing.
Playing with the Monkey Head
I collected data on NGC2174 Monkey Head Nebula from the front patio on the weekend after Thanksgiving (26&27Nov2023), giving my newly-acquired ZWO EAF auto-focuser its “first light.” After processing those data and not being able to tease out any color, other than red, from the LeXtreme data, I decided to do a multi-session image with other NGC2174 data I’ve collected – all from HCH, but with the RaBB and ASI2400BZ both with the LPro light pollution filter. Rather than just creating the multi-session image the way I normally do, I decided to do an experiment to see the difference between registering and integrating the finished images vs. restacking the RAW data as separate sessions. Finally, I also reviewed the SHO (or Hubble Palette) processing instructions that I’d gotten from Ann Chavtur earlier this year and decided to give that a try with these data, to see what a Hubble Palette Monkey Head might look like.
All of the individual session information (capture and processing notes, equipment, thoughts on the results, etc.) are in the Gallery at: https://beersastrophotography.com/gallery/ngc2174-monkey-head-nebula/ . I’ll just hit the high points, in reverse order from how I just introduced them, here…
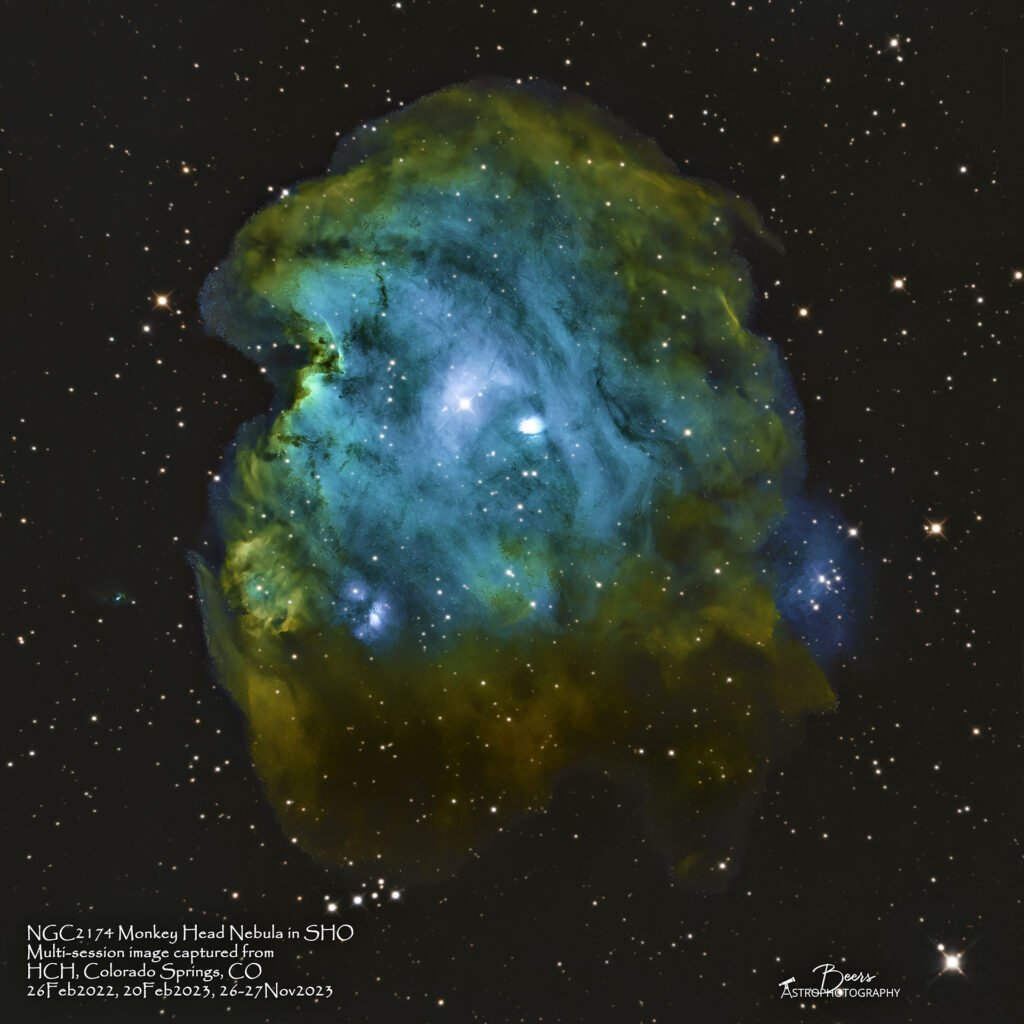
The image above is my first foray into SHO (a.k.a. Hubble Palette) processing. I followed Ann Chavtur’s workflow she’d provided to me when we were chatting about a YouTube video I’d watched about “How to Make a Hubble Pallet with 2 Actions in Photoshop.” It was fun experimenting with the SHO process, but I’m not sure this was the best data set to start with! A couple of issues created challenges that my Photoshop skills probably aren’t quite up to snuff to have dealt with…the “long beard” this version of the Monkey Head has and the seams between the tiles of the various data sets that took spot healing, sky darkening, and color calibration to “fix.” Finally, although I’ve seen Hubble Palette images before, I don’t have a good feel for what the “true” or “right” coloring should look like, or if there even is such a thing! So, I’ve called it good enough (I won’t say what is catching my eye and annoying me…maybe the viewer won’t notice?), my first attempt, and it can only get better from here…
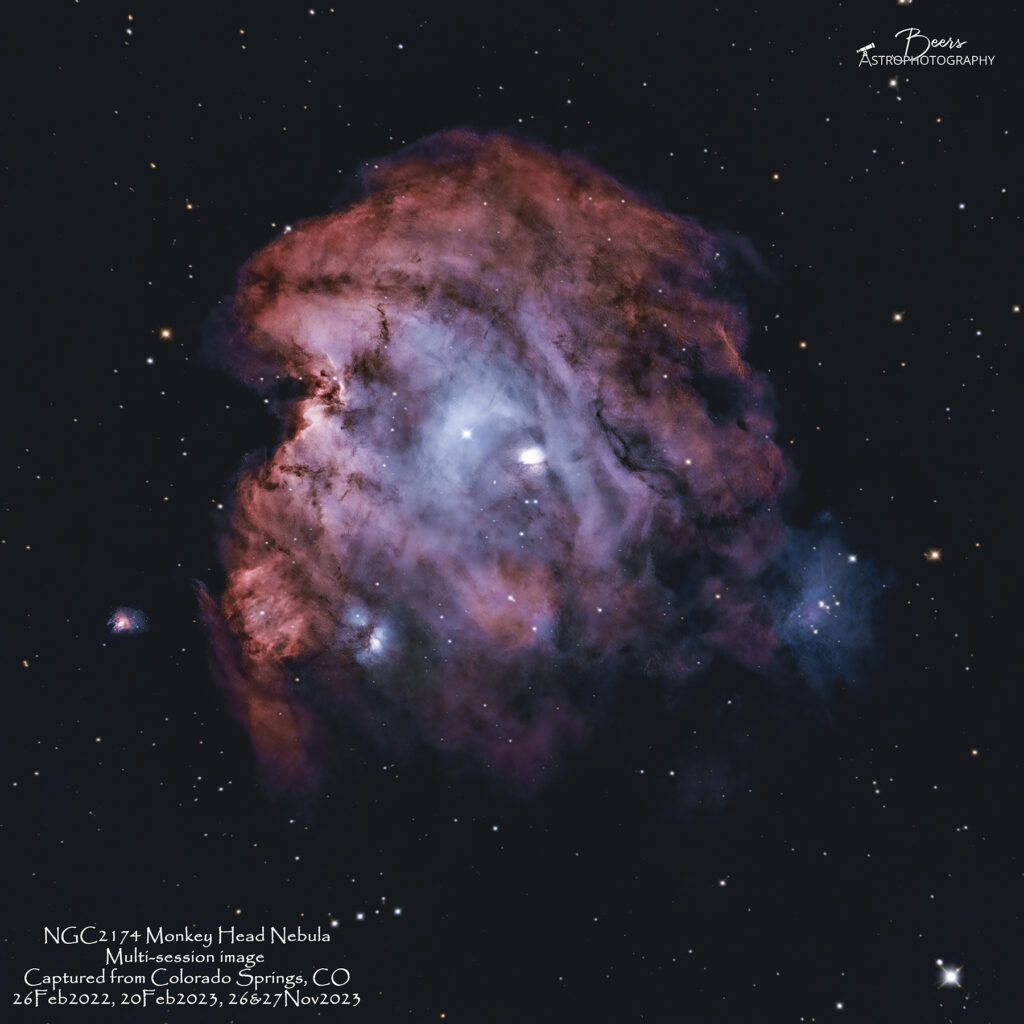
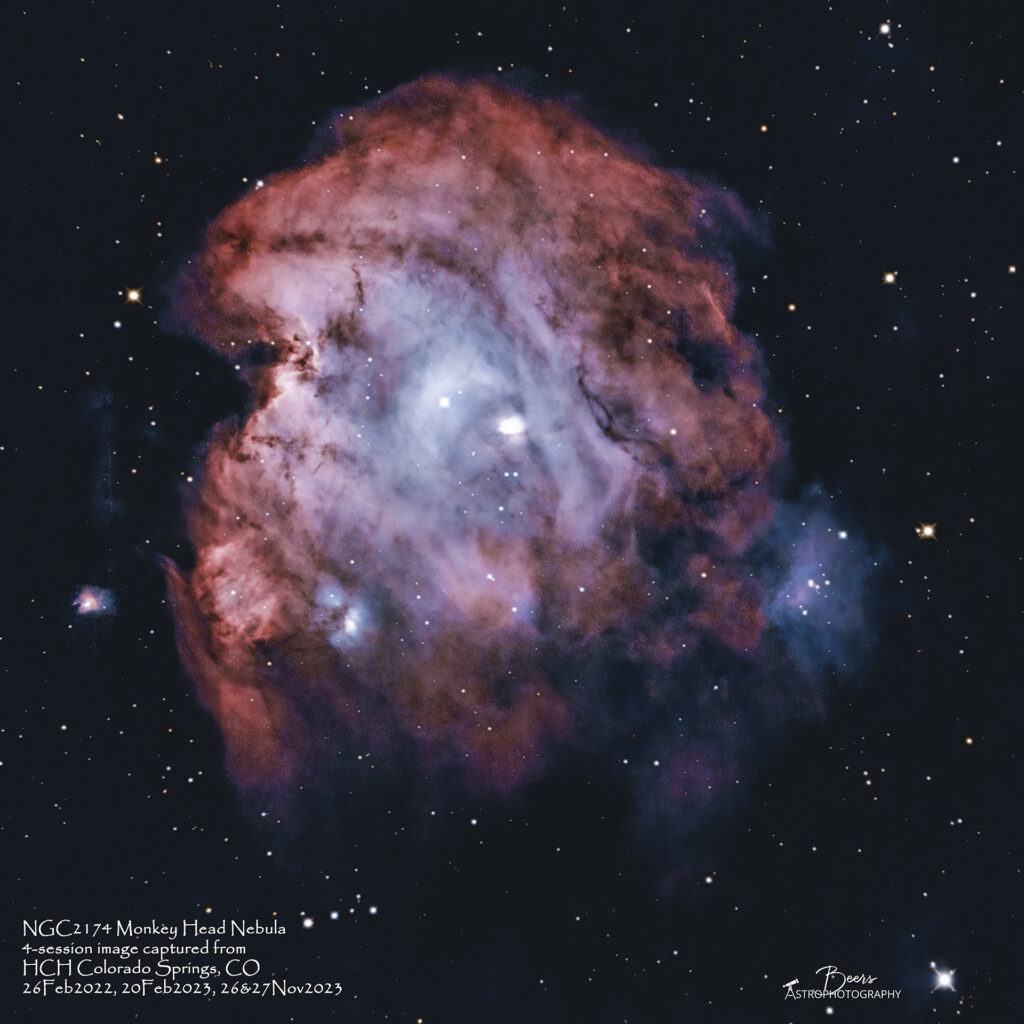
The other experiment’s objective was to see the difference in the final (RGB) image between using APP to stack all the RAW data as separate sessions (like I have always done – and is quite time consuming) versus taking the APP “short cut” of registering and integrating the finished images from those sessions into a single image. So, I executed that experiment by generating two versions of the RGB image in Astro Pixel Processor (APP) – one by registering and integrating following the process I use for creating a mosaic (named MultiFITS) and one by stacking the RAW data with its calibration frames as separate sessions (named 4-session). Once the MultiFITS and 4-session images were created in APP, I processed the two using the same processing steps and settings (to the maximum extent possible). The initial crop produced images that were slightly different sizes (~14″x14″ for MultiFITS and ~17″x17″ for 4-session) – creating different sized images within the frame.
In comparing side-by-side the MultiFITS and the 4-session images (disregarding the size difference) it seems to me that the MultiFITS version has more richness in color and more deepness in the blue, especially in the cheek area. Which, seems to be good news for future multi-session image creation as it’s much easier and less time consuming to register and stack the individual FITS files, than to go back and find all the RAW lights and calibration frames and stack them from scratch. Of course, a single data point probably isn’t the most conclusive answer…so, I see more experimentation in my future (especially if Mother Nature continues her cloudy moods).
Below are the two images, first the MultiFITS alignment of the finished individual images and after that the 4-session stacking of the RAW data from each individual session.