A couple of nights imaging in the cold New Mexico nights over New Years Eve weekend had me wishing for a remote control set-up that would allow me to sit inside the Beast to operate the equipment and check on sequence status throughout the night without having to get bundled up to venture out into the cold. Describing that latest “need” for BeersAP equipment to Paul had him making it happen!
Baye-Aire test run and first light at HCH: 27- 28 Jan 2025
During our dark skies trip to the Kiowa National Grasslands over the New Years Eve weekend, it occurred to me that it would be great to be able to stay inside the Beast to control and check on the equipment without having to go outside into the elements. A ZWO ASIAIR-like set-up (https://www.zwoastro.com/product-category/asiair/) without their proprietary solution would be ideal. I mentioned the idea to Paul on the drive home. Being the problem-solver that he is, he jumped right on the latest BeersAP “I need” or “it would be great if I had” challenge…
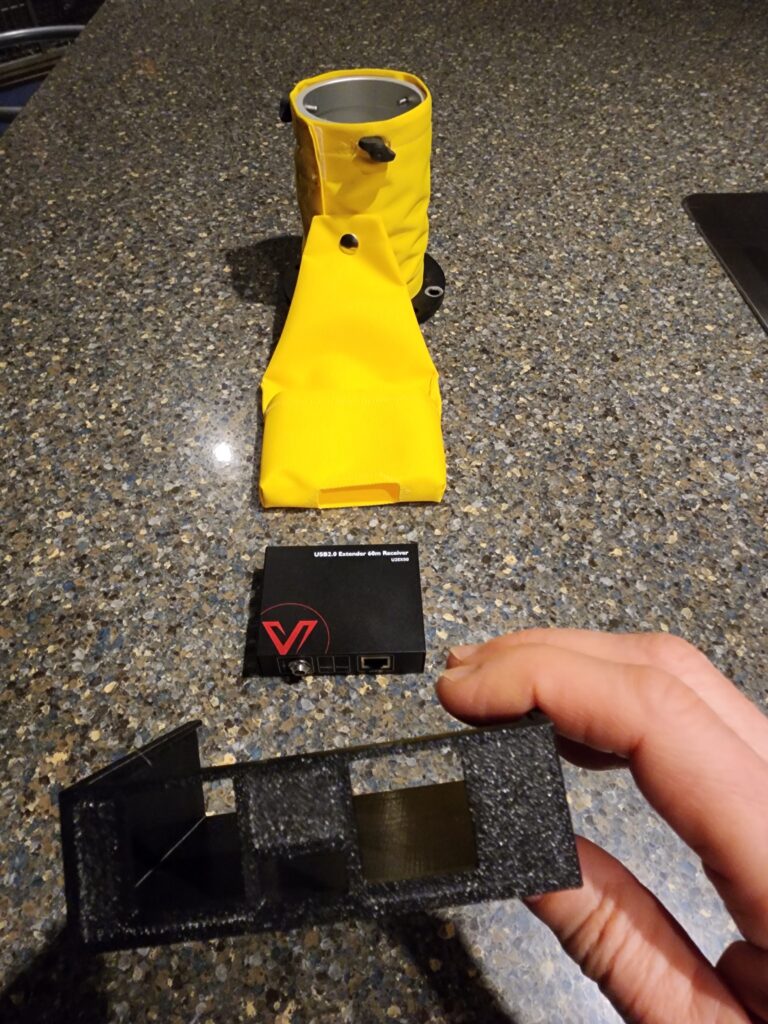
The Baye-Aire remote transmitter/receiver solution
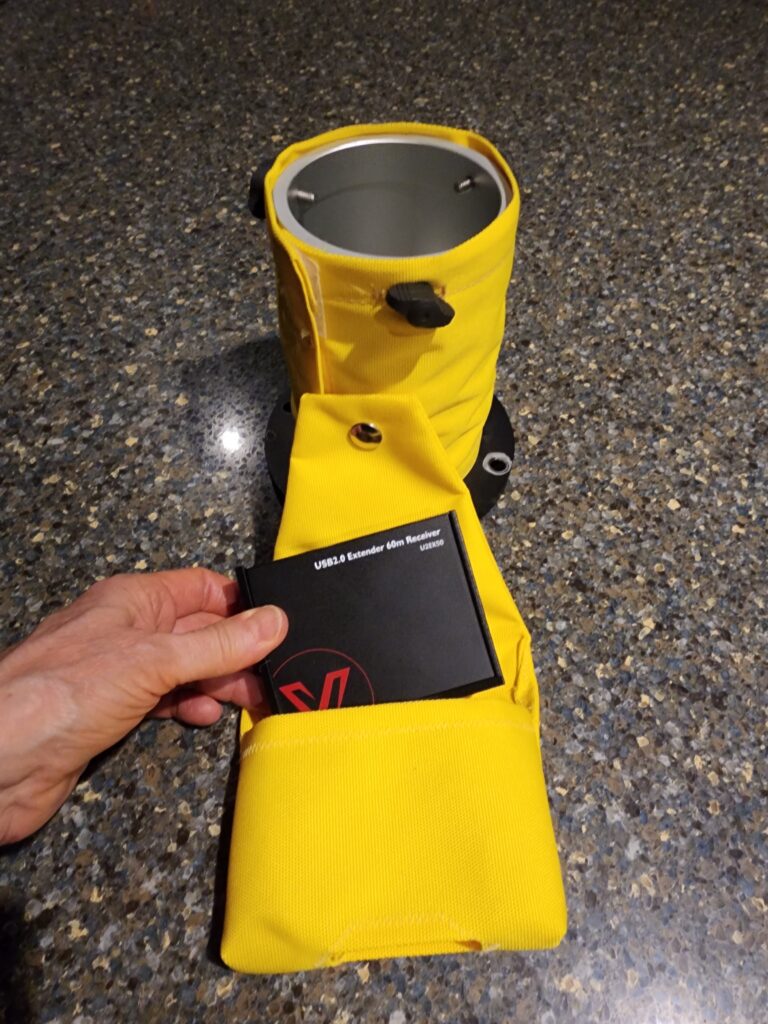
Paul designed and fabricated a transmitter (shown below) and receiver (shown above) set-up with a cable bundle consisting of two parallel (to run two imaging set-ups from two control laptops) 50-foot lengths of Cat 6 cabling running between them. I’m calling it the Baye-Aire in deference to ZWO’s ASIAIR (hopefully with enough difference that I don’t run into issues!)

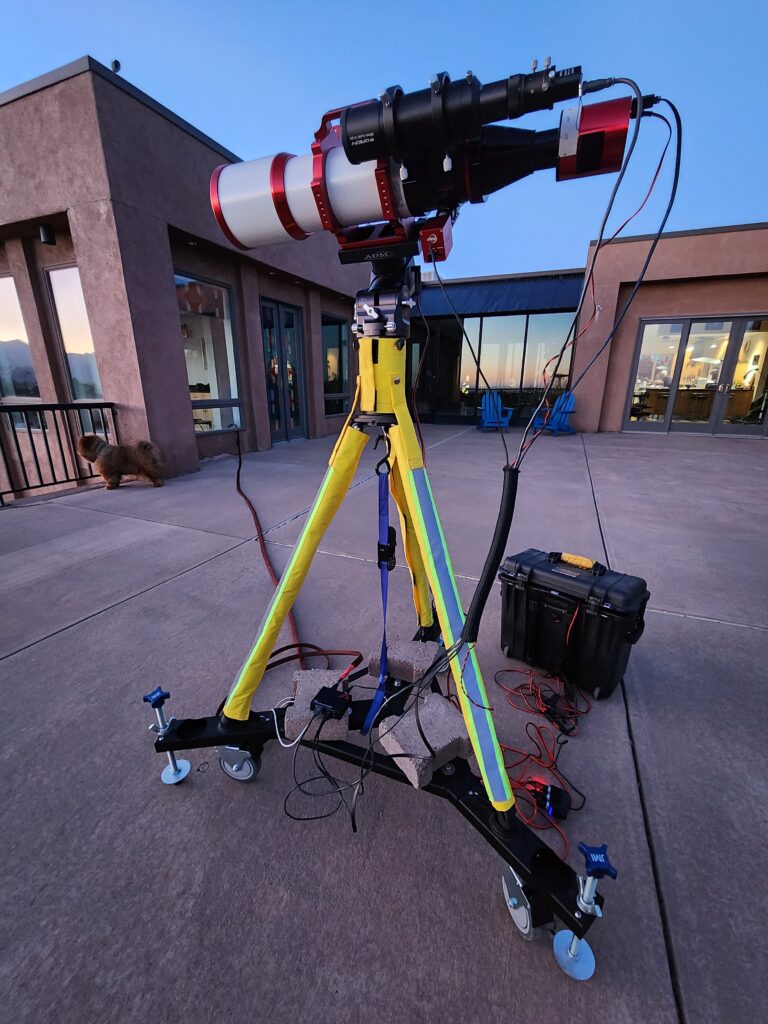
I checked out the completed Baye-Aire, before taking it to the field, during the January New Moon nights from the front patio. The images of IC2177 Seagull Nebula (https://beersastrophotography.com/gallery/ic2177-seagull-nebula/) and IC1805 Heart Nebula (https://beersastrophotography.com/gallery/ic1805-heart-nebula/) captured on 27Jan2025 and 28Jan2025, respectively, represent its “first light”. Everything worked perfectly! Getting up in the middle of the night and checking on the sequence’s status in my night shirt was a very nice treat!
Baye-Aire peripherals:
To fully “productize” the Baye-Aire for field operations, Paul called upon our friends who are incredibly talented crafts -men and -women.
Chris Poss designed and fabricated a 3D-printed case for the receiver. Chris, being the wise man that he is, learned from his experience in fabricating (multiple) Bahtinov masks from my measurements, and asked to borrow the receiver so he could use his calipers to take his own measurements! It fits the receiver like a glove!
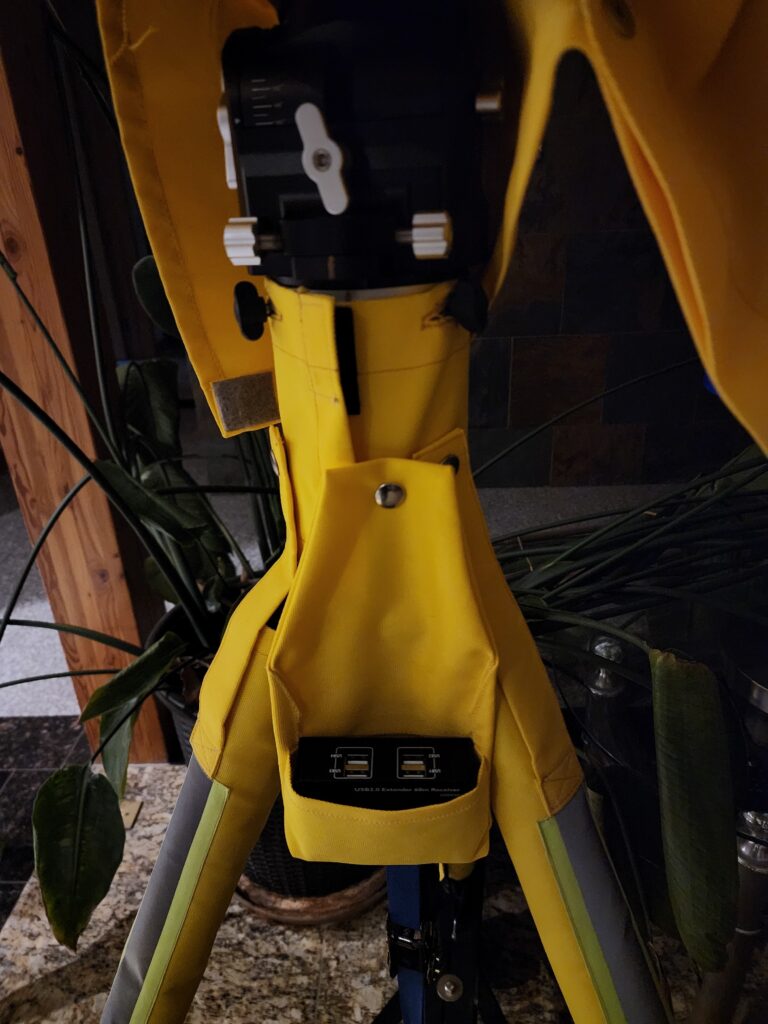
Danita Monness designed and fabricated the pocket (by bringing her sewing machine to the house!) that fastens to the mount’s tower holding the Baye-Aire receiver in the perfect position to connect the Cat 6 cable to the transmitter and the imaging equipment’s cabling up to the mount, camera, autoguider, and autofocuser.
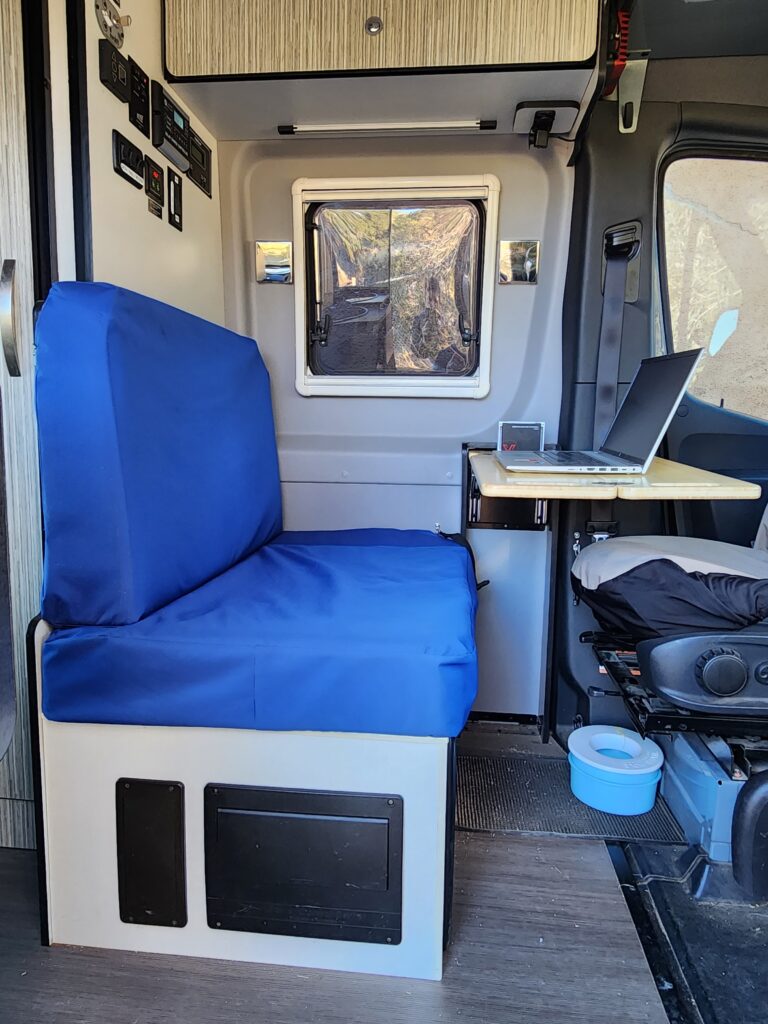
Last but not least, Paul called upon Dave Chadwell to help him modify the Beast to facilitate the Baye-Aire placement and operation. They drilled a hole in the side of the Beast and placed a waterproof access port to run the cabling from the outside imaging equipment (and Baye-Aire receiver) to the inside controller laptop (and Baye-Aire transmitter). They also installed a DC power outlet right below the bench for ease of powering two control laptops.
Baye-Aire Operational Workflow
Two nights of imaging with the Baye-Aire and Southern Cross from the front patio, established my workflow to set up and use the Baye-Aire:
- Set up all the connections to the Baye-Aire receiver and outside equipment in the light of day.
- Connect the inside equipment (laptop) to power and Baye-Aire transmitter.
- When it gets dark, disconnect the laptop from the power and Baye-Aire transmitter, take laptop, Polemaster and its Polemaster cable outside.
- Connect the Polemaster and laptop to the mount; conduct the polar alignment.
- Once the polar alignment is complete, disconnect the Polemaster from the mount and laptop and return to its box.
- Reconnect the outside equipment for imaging:
- Receiver side of the Baye-Aire to the Cat-6 cable and to power (battery).
- Connect the mount to the batter and power on (the rest of the equipment will be powered through the Baye-Aire receiver).
- Remove the lens cap from the telescope and guide scope.
- Rotate the camera to the angle for the night’s target.
- Take the laptop inside and reconnect.
- Transmitter side of the Baye-Aire to the Cat-6 cable
- Transmitter side of the Baye-Aire to the laptop via USB connection.
- Connect the laptop to power
- Open SGP, connect the equipment.
- Start the sequence – pause it when the telescope moves to its first plate solving position to use the EAF manual focusing to achieve near-focus.
- After near-focus is achieved, restart the sequence. Observe plate solving, auto-focus and first subframe acquisition.
- The meridian flip can be mostly done from inside – park the mount, disconnect the equipment, shut down PHD2.
- Go outside to recycle power and disconnect/reconnect the autoguide camera.
- Restart the sequence on the west side of the meridian.
- At the end of the night (or first target acquisition if the camera angle is going to change for the night’s second target), the calibration frames must be captured with the “touch” method described for polar alignment
- Disconnect the laptop from power and the transmitter side of the Baye-Air.
- Take the laptop, light pad, pillowcase, and lens cap outside to run the sequence to collect the calibration frames.
And the results are…
Check out the results of the Baye-Aire test run and “first light” images of IC2177 Seagull Nebula (https://beersastrophotography.com/gallery/ic2177-seagull-nebula/) and IC1805 Heart Nebula (https://beersastrophotography.com/gallery/ic1805-heart-nebula/) captured on 27Jan2025 and 28Jan2025, respectively!